 Preshing on Programming
Here’s a followup to last month’s post about Penrose Tiling in Obfuscated Python.
The Mandelbrot set is a traditional favorite among authors of obfuscated code. You can find obfuscated code in C, Perl, Haskell, Python and many other languages. Nearly all examples render the Mandelbrot set as ASCII art.
The following Python script, on the other hand, begins as ASCII art:
_                                      =   (
                                        255,
                                      lambda
                               V       ,B,c
                             :c   and Y(V*V+B,B,  c
                               -1)if(abs(V)<6)else
               (              2+c-4*abs(V)**-0.4)/i
                 )  ;v,      x=1500,1000;C=range(v*x
                  );import  struct;P=struct.pack;M,\
            j  ='<QIIHHHH',open('M.bmp','wb').write
for X in j('BM'+P(M,v*x*3+26,26,12,v,x,1,24))or C:
            i  ,Y=_;j(P('BBB',*(lambda T:(T*80+T**9
                  *i-950*T  **99,T*70-880*T**18+701*
                 T  **9     ,T*i**(1-T**45*2)))(sum(
               [              Y(0,(A%3/3.+X%v+(X/v+
                               A/3/3.-x/2)/1j)*2.5
                             /x   -2.7,i)**2 for  \
                               A       in C
                                      [:9]])
                                        /9)
                                       )   )
It renders the Mandelbrot set as a full-color, anti-aliased, 1500x1000 image. Click to enlarge:
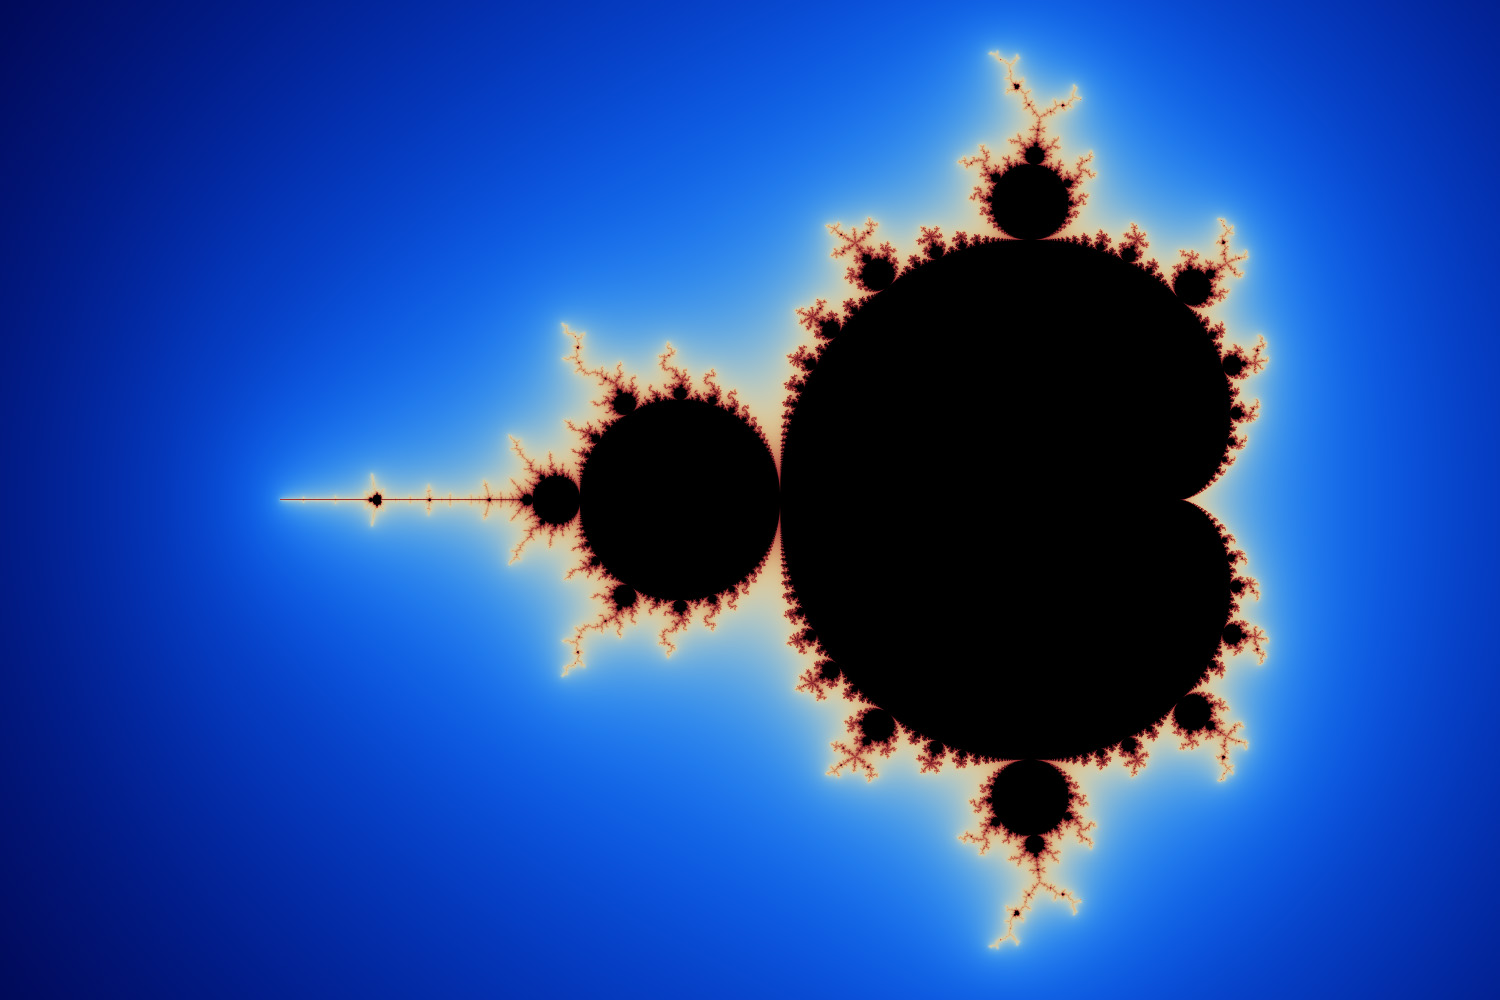
No third-party libraries are required – just pure Python. However, it will only run on Python 2.5 - 2.7; Python 3 is not supported. The output file is written to M.bmp, in Windows bitmap format.
It runs very slowly, taking about 18 minutes on my 1.86 GHz Core 2 Duo (or 9 minutes using PyPy). With some modifications, it’s possible to make this code run up to 20 times faster. However, doing so requires sacrificing either code size or image quality.
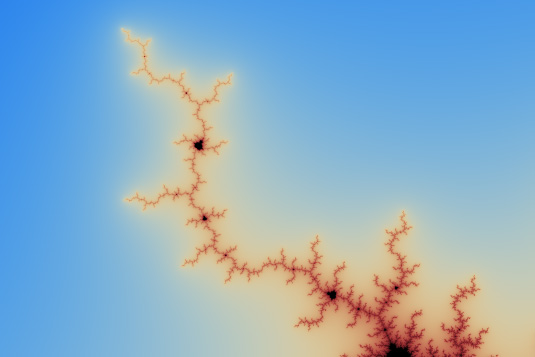
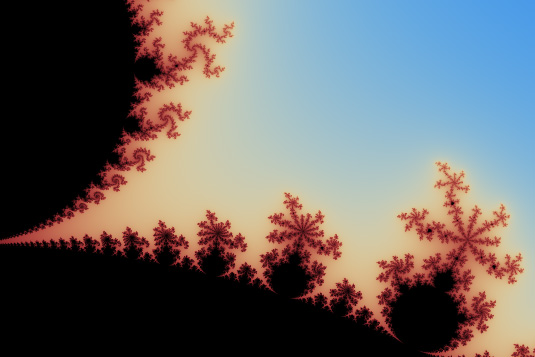
If you’re willing to leave the script running for a few hours, you can increase the image resolution on line 8. (Just make sure the width is divisible by 4.) The resulting detail is quite nice. Here are some 1:1 pixel excerpts from an image rendered at 7200x4800:
The entire 7200x4800 image is too large to share here, but it’s perfect for making prints. So that’s what I did! Notice the Python script superimposed in the lower-left corner. Is this the first poster to include its own source code?
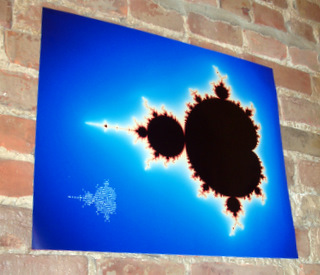
If this kind of thing gives you kicks, you can order your own print (or a coffee mug) at CafePress.